Ok so cutting out the pattern wasn't challenging, because there really isn't alot of pieces...but, trying to ensure you have the nap right when cutting out was kinda challenging, for 3 of the robes I ended up going with short sleeves because I just didn't have a towel big enough. I should have taken measurements of the towels I used, just to be mindful of my next towel purchases. Although, I think the short sleeves here in FL are the best solution, it's just too dang hot here sometimes for long sleeves. I also had to modify the pattern for the ties, I just couldn't get one long length for the ties, but I loved how that looked going around the whole body, so I did them in pieces...as you can tell from the picture. Some turned out better then others, but I think that was my lack of pinning ;o).
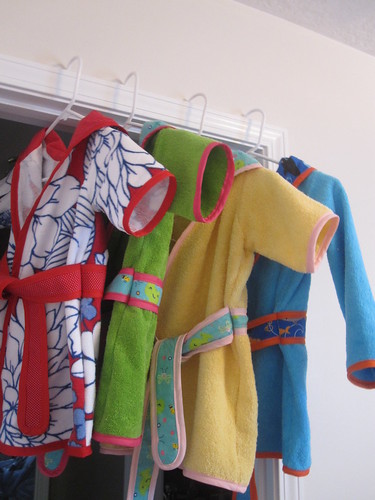
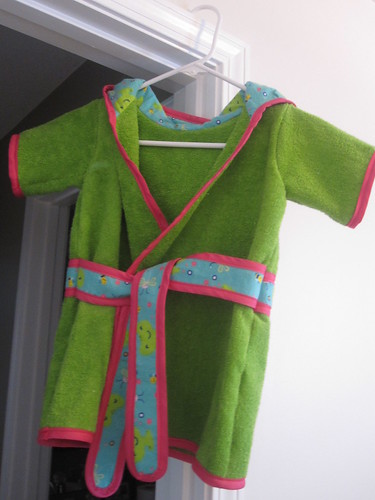
So sewing them together was a breeze and the pattern directions were clear and alot of great illustrations, this was the first time for me setting in a sleeve. I still have some work to do on getting that just right as some of my sleeves ended up smaller then the sleeve opening. But, that was because I wasn't mindful of my needle position and moving it back and forth when I was attaching the bias tape. So I was excited to get to work with my serger on a real project, boy did I have my challenges. Surging in the round is just not easy, any tips from the experts out there in the blogging world?? I couldn't find one video or tutorial about this, so my first one was the blue one and I didn't do a perfect job, but some stitches where looser in some areas then others. Next one up...green one and I totally cut a hold...ugh and had to do some repair work. For those keen seamstresses you can probably spot the patch job. But I still love it and I know my friends little girl will get great use out of it.
Overall I love this pattern and will be making more. Guaranteed I will be back to make some more patterns released by Made. Next item is her tutorial on the kid-shorts, plan on using seersucker material I picked up on sale.
Thanks for stopping by, Happy Creations!
8 comments:
The robes came out beautifully! The shorts should be a breeze compared to the robes. I'm looking forward to hearing more about your serger experiences. T
They are adorable robes! Love it!
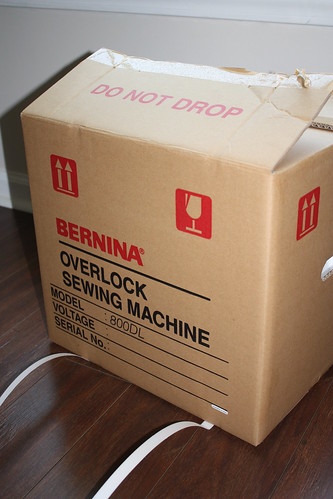
I really like the blue & white one with red trim. I'm jealous of your new toy ;)
I love how your robes came together! I'm also completely jealous of your serger...how exciting. Enjoy that work horse. :)
Hi Jen! I'm wondering whether you might be the Jen who purchased a pattern for a sewing machine cover and accessories from me recently. If you did, could you please contact me. If not, please disregard this message. Kind regards, Ros Mirrington.
How cute are those? I love all the different color combos for the robes. It's kind of inspiring me to finally invest in a serger!
Your robes are adorable! Your new serger is going to be great for making shorts.
So cute! What a fun new toy :-)
Post a Comment